No mat, no equipment? One chair is enough. But treating chair work as a watered-down substitute misses half the point. The World Health Organization estimates that about 684,000 people die from falls each year, and adults over 60 account for the greatest number of fatal falls. The first item on WHO's list of what actually prevents them is gait, balance and functional training.
A chair is the tool that brings that functional training home because it clears five constraints at once: getting down to and up off the floor, having to judge your own depth with nobody watching, the angle you could fall from, the weight landing on your wrists, and the absence of anyone to correct you. Each of those stops a home routine on its own, and one chair answers each in turn. Below, you work out what's blocking you first, then pick the combination that fits.
1. What changes. Chair work is not a watered-down substitute. The WHO estimates about 684,000 deaths from falls each year, with adults over 60 accounting for the most, and the first item on its prevention list is gait, balance and functional training — a chair is how you bring that training home.
2. What is the risk. Never use a chair with wheels. Use a solid, non-slip chair and put it against a wall. Stop at any pain.
3. How to start. One chair clears five constraints at once — getting down to and up off the floor, judging your own depth, the angle you could fall from, weight on the wrists, and nobody to correct you. Work out which one is blocking you, then use the combination for that condition.
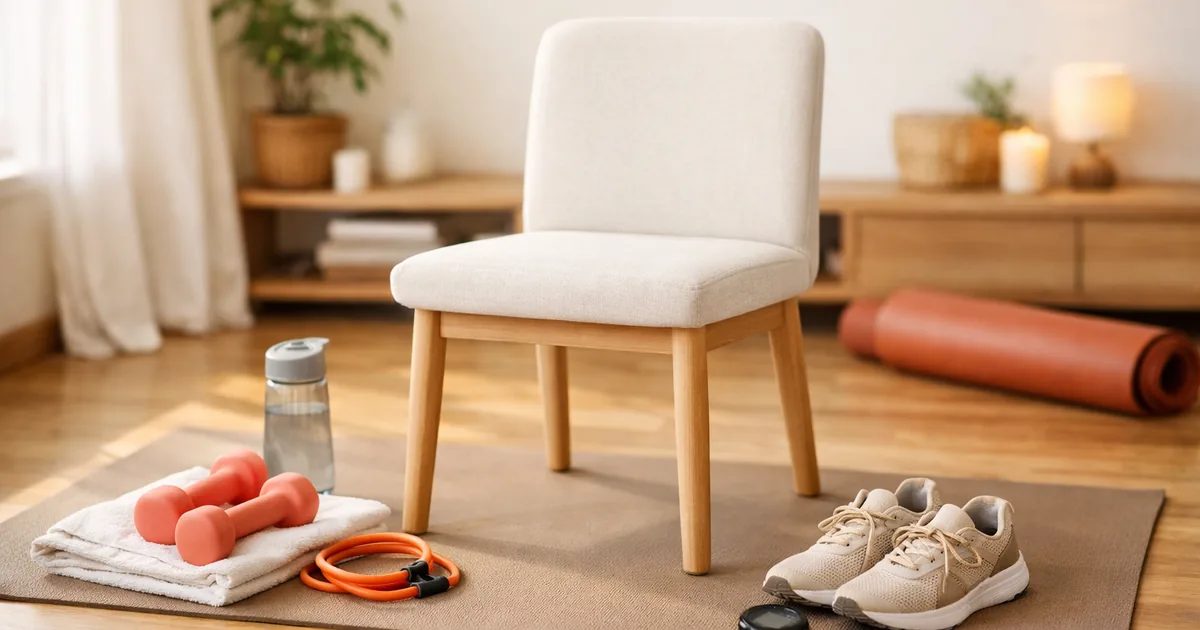
Before you start: never use a chair with wheels. Use a sturdy, non-slip chair, ideally pushed against a wall. Stop immediately if anything hurts.
What is actually blocking you
Set a firm chair with its back against a wall and pick whichever of these five applies. This isn't a fitness score — it's a way to name the obstacle. What you pick decides which moves you use and which you drop.
- Is getting down to the floor and back up itself the obstacle? That removes every mat-based move at once.
- When you're alone, do you avoid anything requiring balance in case you fall?
- When you put your palms on the floor, does your wrist complain before anything else?
- Is reaching overhead or pulling your shoulders back uncomfortable or stiff?
- Standing on one leg for 10 seconds, do you wobble badly or grab for support?
| If this applies | What it blocks | What to do here |
|---|---|---|
| 1 — the floor is the problem | Planks, bridges, everything done lying down | All five moves are seated or standing — run them as written; ⑤ covers the core |
| 2 — fear of falling | Anything where you judge your own depth or angle | The seat sets the depth on ①, so the failure angle never appears |
| 3 — wrists hurt | Upper-body work that loads the hands | Hold the backrest on ② to steepen the angle, and defer ③ |
| 4 — stiff shoulders | Anything using the back range of the shoulder | Drop ③ and use ② instead; add ③ back once the range returns |
| 5 — balance is shaky | The moment one leg carries all of you | Keep ④ every session, but fingertips on a wall and at a low height |
| None of these | — | Run all five as written, two rounds from the start |
Conditions 1 and 5 turn up together most often, and their causes are opposite. Number 1 blocks the route down to the floor; number 5 is a missing capacity to stand on one leg. A chair fixes the first instantly, but the second only shrinks with training. WHO separately recommends that adults 65 and over do balance and fall-prevention activity on 3 or more days a week (2020 guidelines) — if number 5 is you, that recommendation is addressed to you specifically.
How the chair clears each one
A chair does three things. It sets the end point of a movement, it changes the angle your weight loads at, and it gives you something to hold. Those are exactly the three jobs a gym machine does. Chair work isn't a substitute — it's the cheapest machine there is.
| What's blocked | Why it's blocked | The substitute principle | Move in this article |
|---|---|---|---|
| Can't get down to or up off the floor | Mat-based core and hip work disappears entirely | Lean the torso back from a seated position to load the same region | ⑤ Seated knee-up |
| Don't know how far down to go | Nobody is there to judge your depth | The seat sets the floor physically — if you touch it, that's the bottom | ① Chair squat |
| Weight lands on the wrists | A floor push-up fixes the wrist angle for you | Raise hand height to cut the share of body weight being pressed | ② Incline push-up |
| Fear of falling stops you | Nothing to grab when balance goes | Put something to hold in the direction you'd fall, then train single-leg work | ④ Step-up |
| No added weight available | No external mass to raise resistance | Tilt the angle your weight hangs at and resistance rises | ③ Triceps dip |
The second row is the heart of this article. The most common accident in solo training doesn't come from lacking strength — it comes from not knowing what counts as far enough. The chair makes that judgement on your behalf. And the same principle carries into how you progress: raising intensity in chair work isn't adding weight, it's removing one point of support at a time. Hands on knees → fingertips only → arms folded is the difficulty ladder.
The five moves — which fit your conditions
Read this table for which condition uses a move and which condition removes it, not for difficulty order.
| Move | Position | Wrist load | Shoulder load | Balance demand | Reps or time |
|---|---|---|---|---|---|
| ① Chair squat | Standing | None | None | Low (the chair is behind you) | 12–15 × 3 |
| ② Incline push-up | Leaning | Low (set by angle) | Low | Low | 10–12 × 3 |
| ③ Triceps dip | Seated, back to chair | Moderate | Present — highest here | None | 8–12 × 3 |
| ④ Step-up | Standing | None | None | High — single-leg support | 12 each side × 3 |
| ⑤ Seated knee-up | Seated | Low | None | None | 12–15 × 3 |
Not one of the five requires lying on the floor. The position column reading standing, leaning or seated all the way down isn't a coincidence — that's the filter the list was chosen with. The shoulder and balance columns, by contrast, split: ③ carries a clear shoulder load and ④ is the only one with a high balance demand. Those two are the fork where conditions 3 and 4, and condition 5, respectively, change what you do.

① Chair squat — the seat decides your depth
Stand in front of the chair and lower until your hips barely touch the seat, then stand right back up. Don't settle in and rest — touch and rise. The reason this is safe is simple: the chair sets the depth, so the deep-knee range never happens at all. The chair is filling in for the person who isn't there to watch you. It also happens to be the exact skill of getting off a toilet or out of a dining chair.

If conditions are worse: if you can't rise with your arms folded, push off your knees with your hands. If that's still hard, put a cushion on the seat — the higher the seat, the easier it gets. If you have room to spare: let go entirely and fold your arms, or take three seconds on the way down. Swinging the torso forward to generate lift makes the back do the work instead of the legs, so needing that swing is itself the signal that the current difficulty is too high.
② Incline push-up — hand height sets the wrist load
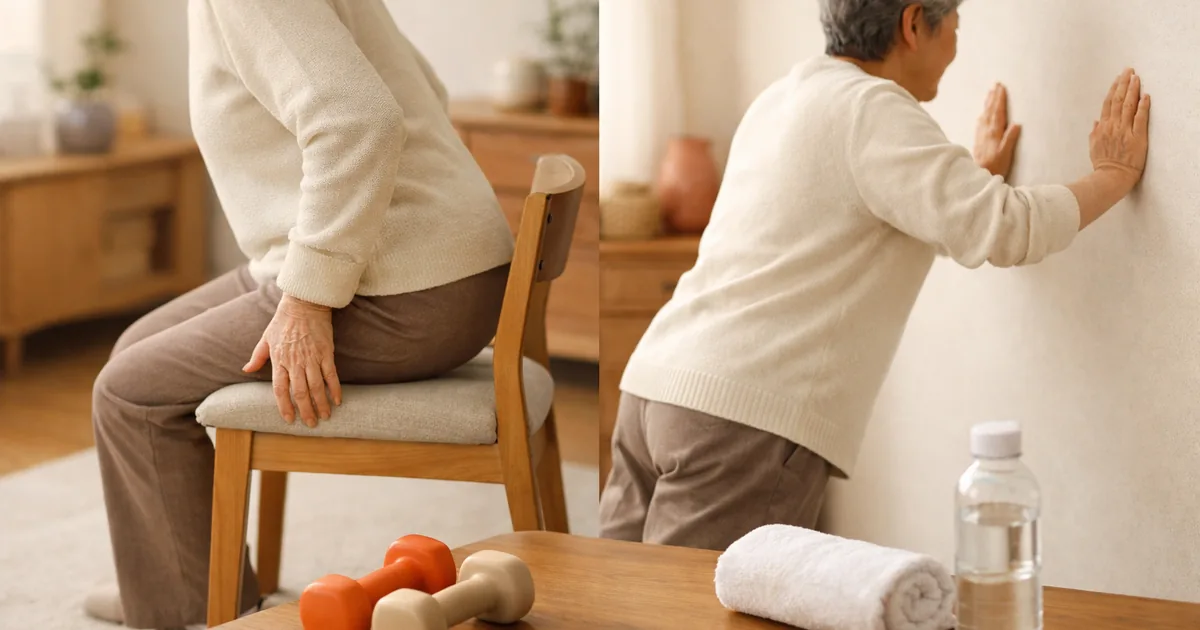
Place your hands on the seat or backrest, keep the body straight, and lower then press up. The higher your hands, the less weight you press, so there is always an entry point even if a floor push-up is out of reach. If wrist pain is what made you give up on upper-body work, this angle adjustment is the answer: the wrist bends further the more weight sits on it, so steepening the angle cuts load and wrist strain together. Push the chair against a wall so it can't slide.

If conditions are worse: if the seat is still too much, hold the backrest for a steeper angle; if even that loads the wrist, stand and press against a wall. If you have room to spare: work down through seat → low step → floor. The next rungs are laid out in the push-up progression. Hips riding up into a V voids the rep at any angle, so check the line from knees to head first.
③ Triceps dip — the one move that screens your conditions
Sit with your back to the chair, grip the front edge of the seat and slide your hips forward, then bend the elbows to lower and press up. This is the only one of the five that screens you out, which is why it comes last. It takes weight with the shoulders drawn back, so if your shoulders are stiff or your wrists weak, the right answer here is deferral rather than a workaround. Without those two conditions, though, it's the clearest stimulus you can put on the back of the arm with no equipment.

If conditions are worse: bend the knees and bring the feet closer to unload a large share of your weight. If the shoulders feel stiff, drop the move and build range first with shoulder mobility stretches, then add it back. If you have room to spare: extend the legs so only the heels rest on the floor, which loads more of you. At any level, stop at about 90° of elbow bend — dropping lower until the shoulders roll toward the ears isn't intensity, it's the route to injury.
④ Step-up — with something to hold, balance becomes trainable
Using a low, sturdy chair or a step, step up one foot at a time and back down, repeating. Plant the whole foot and drive with the glutes on the way up. This is the most important of the five because it repeats the moment when one leg carries all of you — exactly what stairs and thresholds demand. And if shaky balance is why you've been avoiding moves like this, the logic runs backwards: avoidance shrinks the capacity further, while an environment where your fingertips can reach a wall lets you train it without the risk.

If conditions are worse: if the knee bends past 90° the height is too much — use a single stair, and start with fingertips touching a wall or rail. The supporting hand should touch, not grip, or it stops being training. If you have room to spare: let go, and pause for a second at the top before coming down. Dropping down with a thud spikes the load through the knee, so come down slower than you went up.
⑤ Seated knee-up — how to work the core without the floor
Sit on the edge of the chair, hold the seat and lean the torso back slightly, then draw the knees toward your chest and extend. This move is in the five for its route, not its intensity. Almost all core training assumes you can lie down — and if getting down and up is the thing that's blocked, core work vanishes wholesale. Leaning the torso back substitutes for lying down, so the same region gets loaded from the chair. Move slowly, no swinging, abs braced throughout.

If conditions are worse: alternate one leg at a time, and lean back less — the shallower the lean, the easier it is. If you have room to spare: increase the lean, or hold for two seconds at the top. If even sitting is awkward, there is a standing core routine. Swinging the legs for momentum pulls at the front of the hip instead of the abs, so the moment the pull changes location is the signal to slow down.
Which combination fits you
You don't have to do all five every time. When the constraints change, the selection should change too. These are the combinations that come up most.
| Situation | Use | Drop | Why |
|---|---|---|---|
| Wrists hurt | ① ④ ⑤ | ② ③ | Removes everything that takes weight through the hands |
| Shoulders are stiff | ① ② ④ ⑤ | ③ | Avoid only the drawn-back shoulder angle; the rest is fine |
| Alone and worried about falling | ① ② ③ ⑤ | ④ | Remove the single-leg phase; do ④ when someone is around |
| Only 10 minutes | ① ② ④, one round | ③ ⑤ | Keep the large muscle groups and the balance work |
| Knees hurt | ② ③ ⑤ + a low ④ | ① | Drop the deep-bend move and lower the step height |
| Balance is especially poor | ④ every session | — | Matches the 3-or-more-days balance recommendation for 65+ |
Whatever the combination, frequency stays at 3 sessions a week. The CDC asks adults for 150 minutes of moderate-intensity activity a week plus at least 2 days of muscle-strengthening activity covering the major muscle groups — legs, hips, back, abdomen, chest, shoulders and arms. Chair work covers only the strengthening half, so add quiet home cardio in the same week for the aerobic half. Week one is ① ② ⑤ for one round, week two two rounds, week three adds ③, week four adds ④ at three rounds — roughly a 15-minute session.

How to expand as constraints lift
Constraints aren't permanent. Decide in advance what you'll add as each one lifts, and you won't have to work it out from scratch again.
- When you stop needing the support — reduce it in order: hands on knees → fingertips only → arms folded. This is the first expansion chair work offers.
- When the floor stops being a barrier — move to mat-based work. The basics are in home workout basics, and lower-body-only work is in the lower body routine.
- When balance steadies — raise the step height and lengthen the pause at the top. If managing fall risk is the goal, read the fall-prevention material alongside this.
- When wrists and shoulders ease — bring back the ③ you deferred, and start lowering the angle on ②.
Judge readiness to expand on four points rather than on feel. You finish the current setup with no swinging, the next day normal movement is unaffected, you never hold your breath during a move, and on one-sided moves the two sides are within 2 reps of each other. Adding load before all four hold is how people get hurt, and an injury costs three weeks.

When this approach still is not right
Some things don't resolve no matter how you route around the constraint.
- If the front of your knee keeps twinging on step-ups, you're past what lowering the height can fix. Run knee-strengthening work first.
- If the chair creeps along the floor mid-set, that's an environment problem, not an intensity one. Stop, push the chair to a wall, and wear bare feet or trainers rather than socks.
- If you keep lurching during single-leg standing, this may not be a training question at all. Declining balance needs its own assessment.
And the following are not things to adjust conditions around. If any appear, stop for the day — and if they repeat, get assessed before training again.
- If a move hurts or you feel dizzy, stop for the day and sit down (our rule)
- The knee is very painful, cannot take weight, badly swollen, locks or gives way, or is red and hot with a temperature — urgent advice (111 in the UK); no better within a few weeks — a GP (NHS knee pain)
- Chest pain or pressure that does not go away, spreads to the arm, neck, jaw or back, or comes with sweating, feeling sick, light-headedness or breathlessness — call 999 (NHS chest pain)
This list first mixed in unsourced thresholds (“sharp pain”, “a swollen, warm joint”, “pain still there two days later” and so on); on 15 October 2026 we replaced them with NHS wording.
Questions that remain
Isn't chair work just a watered-down substitute?
A chair does three things — it sets the end point of a movement, it changes the angle your weight loads at, and it gives you something to hold. Those are exactly the three jobs a gym machine does, which makes it not a substitute but the cheapest machine there is. The first item on WHO's fall-prevention list is gait, balance and functional training, and a chair is how that training comes home.
With no equipment, how do I raise the intensity?
Not by adding weight but by removing one point of support at a time. Hands on knees → fingertips only → arms folded is the difficulty ladder. On ④ the supporting hand should touch, not grip, or it stops being training. Angle is the other dial — work ② down through backrest → seat → low step → floor and the share of body weight you press rises with each step.
If I drop one of the five, which one?
③ triceps dip. Count across the five situations in the combination table and only ③ drops three times — wrist, shoulder and time all catch it — while the other four drop once each (our arithmetic). It takes weight with the shoulders drawn back, so stiff shoulders or weak wrists make deferral, not a workaround, the right answer. Which means the four without ③ are effectively the base set.
Aren't “the floor is a problem” and “balance is shaky” the same thing?
They turn up together often, but their causes are opposite. Number 1 blocks the route down to the floor; number 5 is a missing capacity to stand on one leg. A chair fixes the first instantly; the second only shrinks with training. So if number 5 is you, ④ is not dropped — it goes in every session, with fingertips on a wall and at a low height.
Do these five meet the activity guidelines?
The strengthening half only. Three sessions a week covers at least 2 days of muscle-strengthening activity, but the 150 moderate-intensity minutes are a separate line item you have to add in the same week. Balance is different again — WHO separately recommends that adults 65 and over do balance and fall-prevention activity on 3 or more days a week (2020 guidelines), and if that's you, ④ is what fills it.
Where to check further
- How high your own fall risk is. The ten-second single-leg item here is a rough screen — public health centre fall-prevention programmes and Korea's National Fitness Award centres measure balance properly.
- What counts as a stable enough chair. We say “solid” but found no public source giving numeric criteria — if in doubt, have a physiotherapist or a health centre exercise clinic check the actual chair.
- Which moves to drop with a shoulder or knee condition. Written for general adults — if you are in treatment, your clinician can rule each move in or out.
For wheelchair users the NHS has its own advice — the same 150 minutes and 2 days of strength work, with pulling moves for the back (exercise for wheelchair users).
Where the moves and counts come from
The order of the moves and the repetitions, sets and hold times in this post are our own example. The sources below give weekly activity amounts and condition information; they do not set counts for these moves. Where an agency gives the moves and counts itself, we carry them in its own words in sitting exercises and strength exercises for older adults.
Sources used
- NHS — Knee pain · reviewed 21 December 2023, checked 15 October 2026
- NHS — Chest pain · reviewed 8 August 2023, checked 15 October 2026
- WHO — Falls fact sheet · source for the estimated 684,000 annual fall deaths, the over-60 figure, and the gait, balance and functional training recommendation
- CDC — Older adult falls data · more than one in four older adults falls each year; about 3 million emergency department visits annually
- CDC — Physical activity guidelines for adults · 150 minutes of moderate activity plus at least 2 days of muscle-strengthening activity per week
This is general health information and does not replace medical diagnosis or treatment. The figures above are taken from published WHO and CDC material; your own fall risk and readiness to exercise can only be judged in a clinical assessment. If you have joint disease or episodes of dizziness, talk to a clinician before you start. Written as of July 2026.